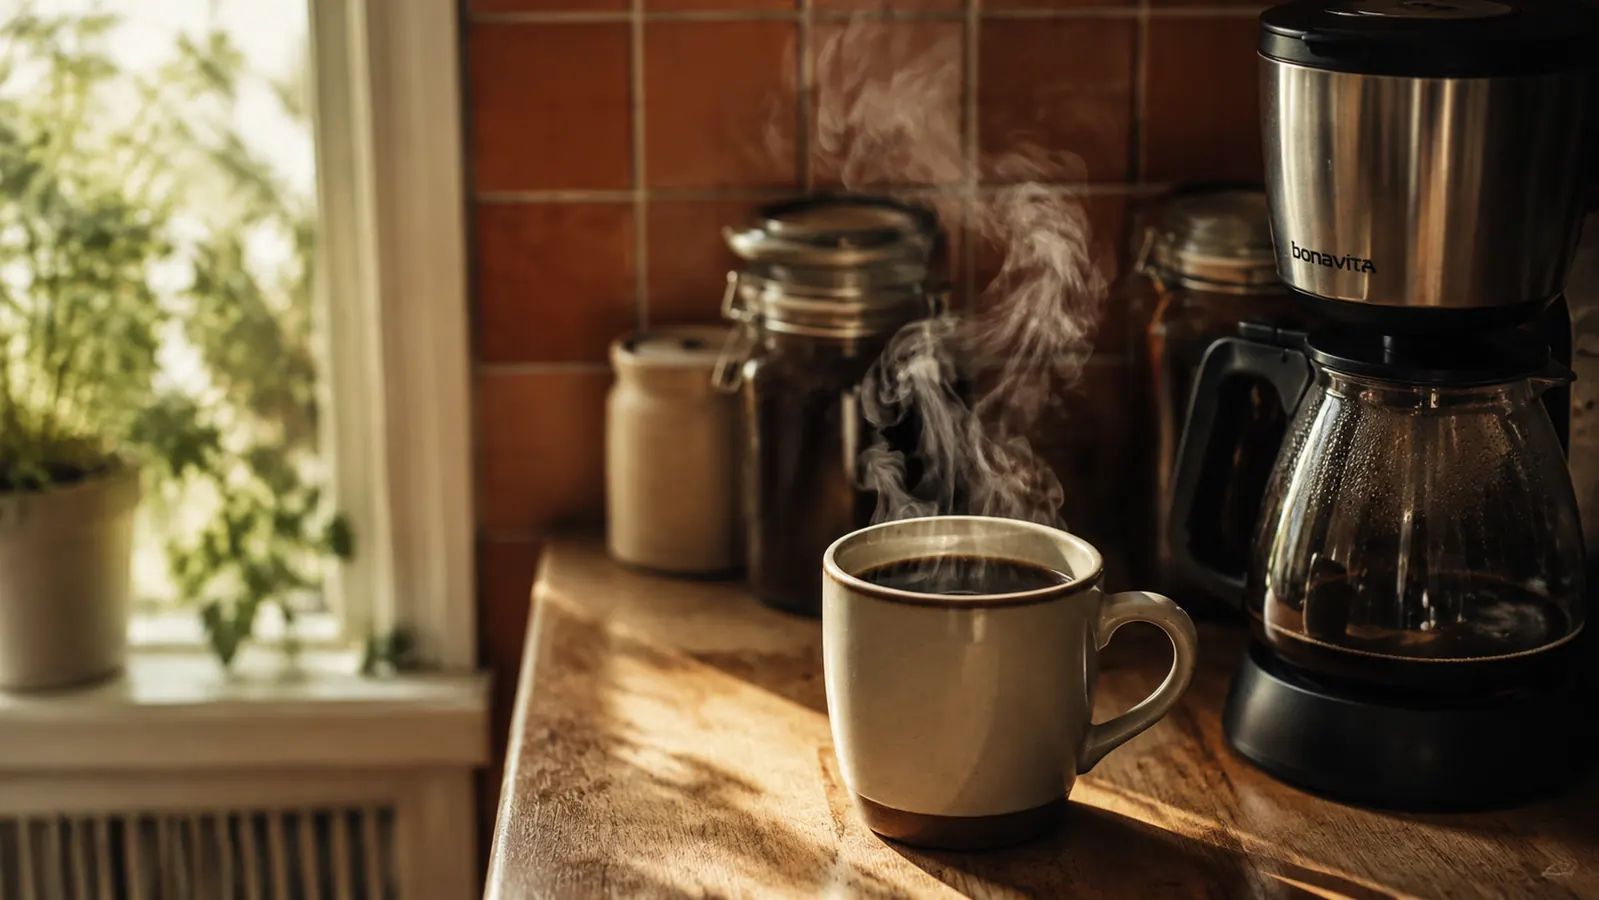
When I moved into my studio apartment three years ago, my kitchen counter measured exactly 26 inches. I am not exaggerating. I had a microwave, a dish rack, and about nine inches of actual working space. Coffee felt like a luxury I would have to give up, or at minimum shrink way down. I had been making pour-over coffee for years -- a gooseneck kettle, a Chemex, a scale, a grinder, the whole ritual. None of it was going to fit. None of it.
What I eventually figured out is that the problem is not the coffee. The problem is the setup. You can brew genuinely good coffee in a small apartment without giving up half your counter. You just need the right machine, the right pods, a little prep routine, and one storage trick that changed everything for me. I will walk you through all of it, step by step.
If your counter is already crowded, this is the one brewer that does not make it worse
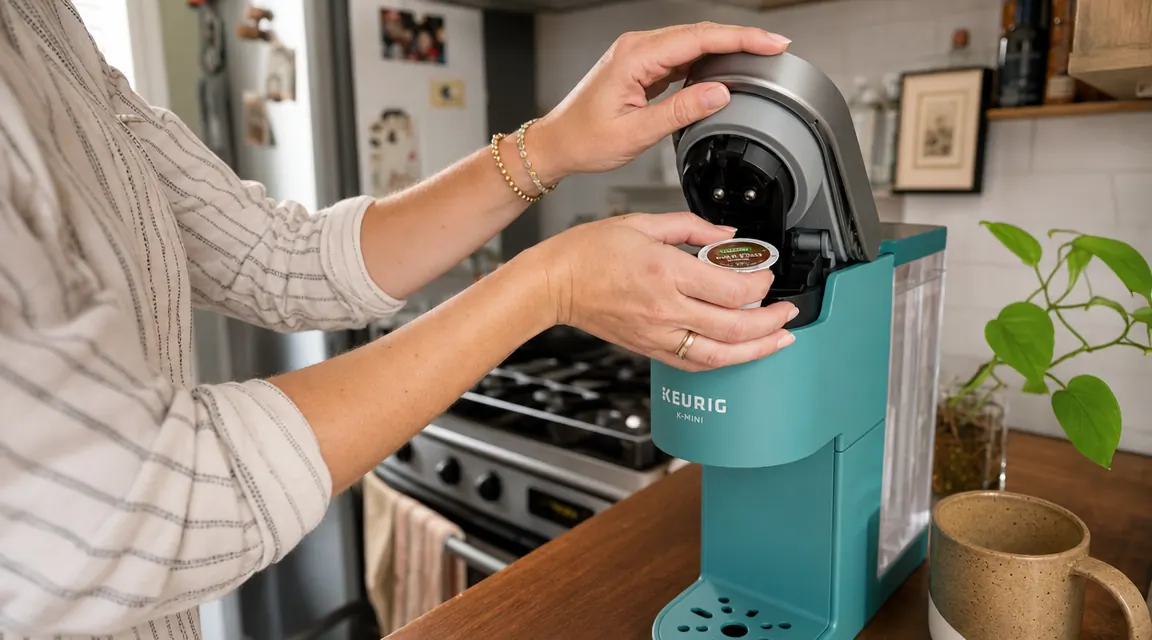
The Keurig K-Mini is 5 inches wide and brews a cup in under two minutes. It is the machine I use every morning in my own small kitchen, and it is the one I recommend whenever a friend asks what to buy first for an apartment setup.
Amazon Check Today's Price on Amazon →What You Actually Need (And What You Do Not)
Before we get into the steps, let me save you some money and some counter space. You do not need a grinder, a scale, a gooseneck kettle, or a specialty subscription to make coffee that tastes good in the morning. Those things are wonderful if you are really into coffee. But if you are working in a tiny kitchen and you want a good cup before 8am without a lot of fuss, they are mostly overhead.
What you do need: a compact brewer that fits your space, a source of filtered water, a decent mug, and pods you actually like. That is the whole list. The Keurig K-Mini is 5 inches wide and 11.3 inches tall, which means it fits in corners, on narrow shelves, and in spaces where full-size machines absolutely would not. It brews between 6 and 12 ounces, heats its own water in roughly 90 seconds, and has built-in cord storage so the cable does not snake across your counter. For a small kitchen, those details matter more than most people realize.
Step 1: Find Your Machine's Permanent Home Before You Plug It In
This sounds too simple to be a real step, but it is genuinely the most important one. A lot of people buy a coffee maker, set it wherever there is room, and then spend months moving it around. Every time it moves, the cord gets in the way, water drips somewhere awkward, and using it becomes a small hassle. Small hassles compound in small kitchens.
Measure your counter corners and your shelf depths before the machine arrives. The Keurig K-Mini needs about 12 inches of vertical clearance above it to open the lid fully -- that is the number most people miss. If you have upper cabinets, hold a ruler up before you commit to a spot. Corner spaces work really well because the cord can run behind the machine and out of sight. If you have literally no counter room, a small rolling cart pulled up beside the counter can serve as a dedicated coffee station, and it tucks away when you do not need it.
Once you find the spot, that is its home. Commit to it. The consistency makes the habit easier, and you will stop burning time looking for cord room every morning.
Step 2: Set Up Your Water Routine
Coffee tastes different depending on your water, and in most apartments the tap water is fine but not great. The Keurig K-Mini does not have a built-in reservoir -- you fill it fresh with each cup. That is actually a feature in a small kitchen, because there is no tank sitting on the machine gathering stale water. But it does mean you need a quick fill routine.
The simplest fix: keep a Brita pitcher or a filtered water bottle in the fridge. Each morning you pour filtered water directly into the machine's water reservoir, which holds up to 12 ounces. Takes about five seconds. If you are fine with tap water, that works too -- just run a cup of plain hot water through the machine once a week to flush out any mineral buildup, especially if you live somewhere with hard water. Descaling with a small amount of white vinegar and water every two or three months keeps the machine running smoothly and prevents the slow-down that comes from scale buildup in the heating element.
Step 3: Pick Pods You Will Actually Enjoy
Here is where most people leave a lot of quality on the table. They grab whatever K-Cups are on sale and then wonder why their coffee tastes thin or bitter. Pod selection matters more than most how-to guides admit.
A few things to know. Dark roast pods almost always taste better from a single-serve machine than light or medium roasts, because the shorter brew time and lower water temperature that these machines use tends to under-extract lighter roasts. If you love a bright, fruity light roast, a pod machine may disappoint you -- stick to medium-dark or dark if that is your setup. Brands like Green Mountain Dark Magic, Death Wish Coffee, and Starbucks Dark Roast K-Cups consistently get strong marks for flavor intensity in a single-serve format.
The 6-ounce brew size also makes a significant difference. The K-Mini's smallest brew -- 6 ounces -- is noticeably stronger and richer than the 10 or 12-ounce option from the same pod. If your coffee has been tasting weak, try dialing down the brew size before switching pods. That single adjustment fixes the complaint about 80 percent of the time.
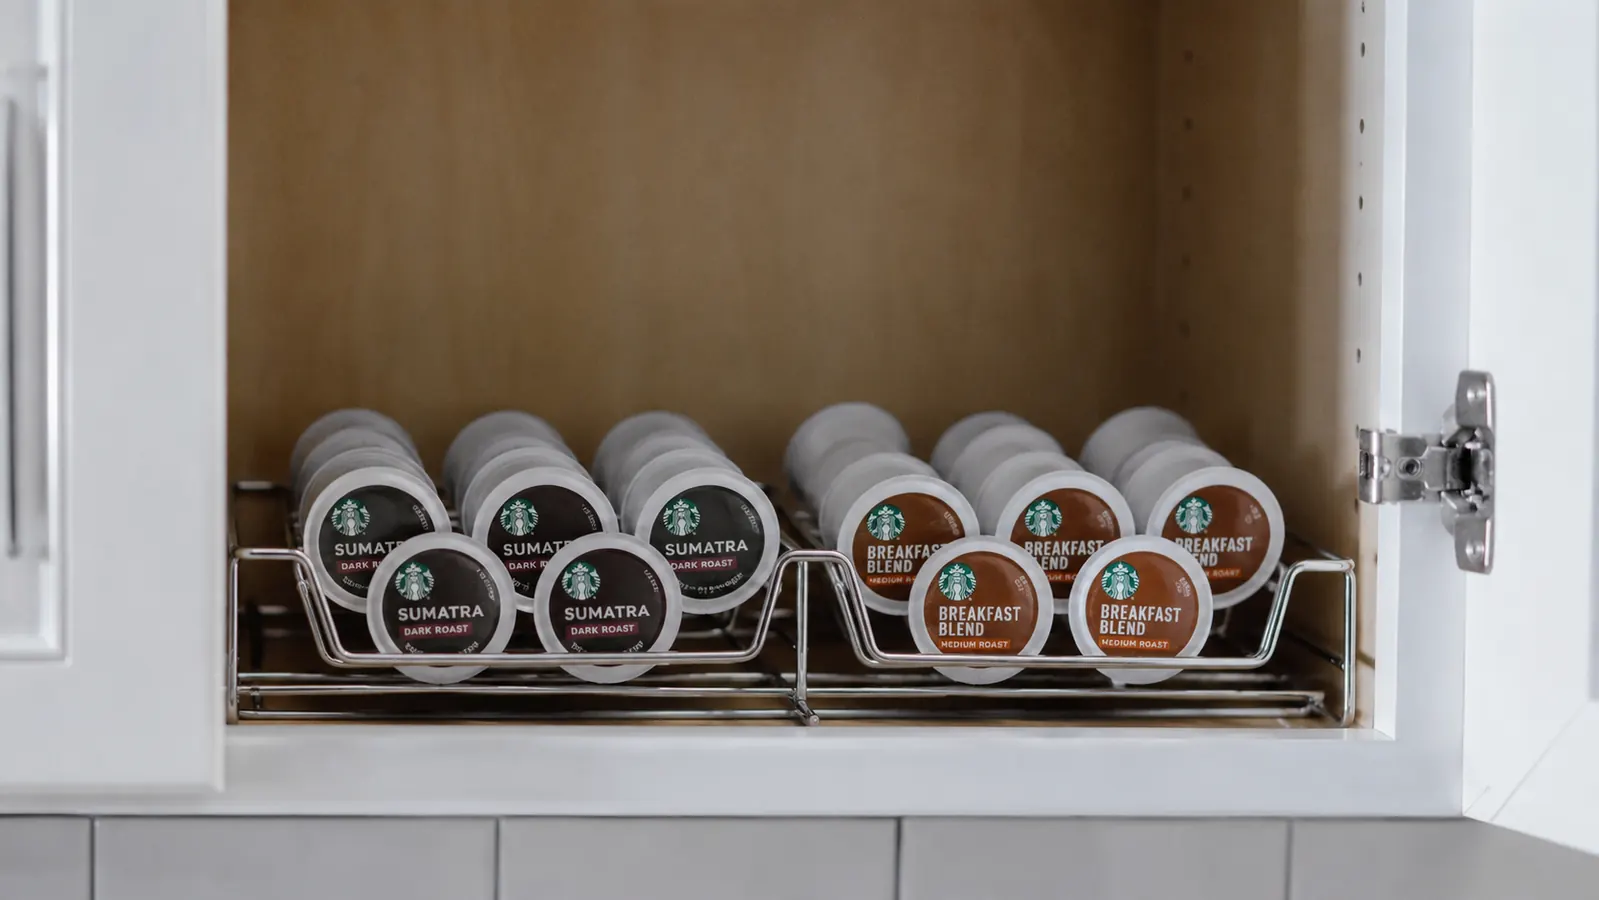
For storage, a small countertop pod organizer holds 12 to 18 pods in a neat row and takes up about the same space as a paperback book. Or use the inside of a cabinet door with a simple adhesive organizer -- pods up and out of sight, but right there when you need them. Either way, keeping the pods near the machine means the whole routine flows without hunting around.
Brewing at 6 ounces from the same pod gives you a noticeably stronger, richer cup. If your coffee has tasted weak, try that before you buy anything new.

Step 4: Build a Two-Minute Morning Routine
The whole point of a single-serve machine in a small kitchen is speed and simplicity. But it only stays simple if you set it up to be. Here is the routine I use every morning and it has not varied in three years.
Fill the reservoir the night before, or first thing in the morning -- it takes about five seconds. Press the power button. The K-Mini heats in about 90 seconds and has an indicator light to tell you it is ready. While it heats, I grab my mug and drop in the pod. When the light is steady, I press brew. Two minutes from button press to coffee in hand. The machine auto-shuts off 90 seconds after the brew finishes, so I do not have to think about turning it off. If you want a second cup, you fill the reservoir again and repeat. There is no complicated cleanup -- lift the lid, drop the used pod in the trash, wipe the drip tray once a week, and you are done.
The drip tray on the K-Mini is removable and fits a tall travel mug (up to about 7 inches) when you take it off the base. That is useful if you are making coffee to-go in a large insulated tumbler. Just set the mug directly on the base, skip the tray, and brew straight into it. No transferring, no extra dishes.
Step 5: Keep Your Coffee Station from Creeping Across the Counter
This is the maintenance step that most guides skip. Small kitchen setups have a tendency to expand. You add a pod organizer, then a mug tree, then a travel tumbler, then a little jar of sugar, and suddenly your coffee station has taken over a third of your counter without you noticing. Setting a boundary from the start prevents this.
Decide on the exact footprint for your coffee setup and stick to it. The K-Mini itself is 5 inches wide. Give the whole station a 10-inch width maximum -- machine plus one pod holder, nothing else on the counter. Mugs go in the cabinet. Sugar goes in the cabinet. Extra pods go in a drawer or on a door organizer. The visual discipline of a contained station makes a small kitchen feel much more manageable, and it means you always know where everything is.
If you are brewing for two people or you want the option of brewing back-to-back cups for guests, the K-Mini handles it without issue -- you just refill the reservoir between each cup. It is a bit more hands-on than a machine with a larger tank, but for most small-apartment households brewing one or two cups a morning, the fill-per-cup model is actually a good fit because it keeps water fresh and the footprint small.
What Else Helps
A few other things that make a meaningful difference in a small-kitchen coffee setup. A good insulated mug keeps your coffee hot longer, which matters in a small apartment where you may be getting ready and moving away from the kitchen. You do not need anything fancy -- a simple 12-ounce insulated stainless mug holds heat well and washes easily. A box of reusable K-Cup filters lets you use ground coffee you already own instead of pods, which cuts the per-cup cost significantly if you brew daily. The My K-Cup Universal Reusable Coffee Filter works directly with the K-Mini and takes about the same time to use as a standard pod once you get the habit down.
If you want to learn more about whether the K-Mini makes sense as a long-term buy for your kitchen, the full one-year review covers how the machine holds up over time, what eventually wore down, and whether the pod cost is worth it compared to alternatives. And if you are still on the fence about single-serve brewing in general, the 10 reasons a single-serve maker fits a small kitchen breaks down the practical advantages in plain terms.
One last thing worth saying: do not let perfect be the enemy of good here. A $3 drip coffee bag over a mug makes decent coffee. The point of building a proper small-kitchen setup is not to have the best coffee in the building -- it is to have a consistent, enjoyable cup every morning without the hassle of a big machine, a long setup, or a counter full of gear. The K-Mini hits that target reliably, which is why it keeps earning its spot on small counters in apartments, dorms, and RVs across the country.
Ready to stop juggling counter space every morning?
The Keurig K-Mini is 5 inches wide, brews a cup in under two minutes, and has built-in cord storage so the cord stays out of your way. It is the compact brewer I come back to every time someone asks what actually works in a small kitchen.
Amazon Check Today's Price on Amazon →